Showing posts with label paint. Show all posts

Tuesday, January 18, 2011

Hustling buns now.


Now we are cooking with grease. The inside of all the parts are done and today I got the second of seven coats of varnish on the outside. The wave went on really well this time with just touchups around the edges. I still get a little heavy handed with the sander though, and got two thin spots on the white. I'll probably be the only one that ever notices.


I am doing a few things to speed up and improve the process on this side. I am finishing all three pieces at the same time, taping off the edges so there are virtually no drips, and vacuuming through the sander so there is much less dust and tack-ragging. All the varnish should be done by the weekend.


It has been so cold and wet here, but I got the garage hooked up with a little heater. A good hoodie and some tunes help too.


We are so excited to get to the assembly stage. I am going to start disassembling the trailer and shedding any thing not necessary. Dry fits, bed lining, electrical, spars, bulkheads, cabinetry, windows, skylights... woo hoo!!! It's about to get fun, and my new friend Todd has volunteered with some help. I am going to need it.


TOMT_sig

Tuesday, September 21, 2010

They Call it Finishing, but We Just Started

We have been really busy applying a coat of finish each day for over a week. I had to get in the paint post before we are off to a Tearjerkers event this weekend at Elk Neck State Park. Woo hoo! Lots of design ideas up close.


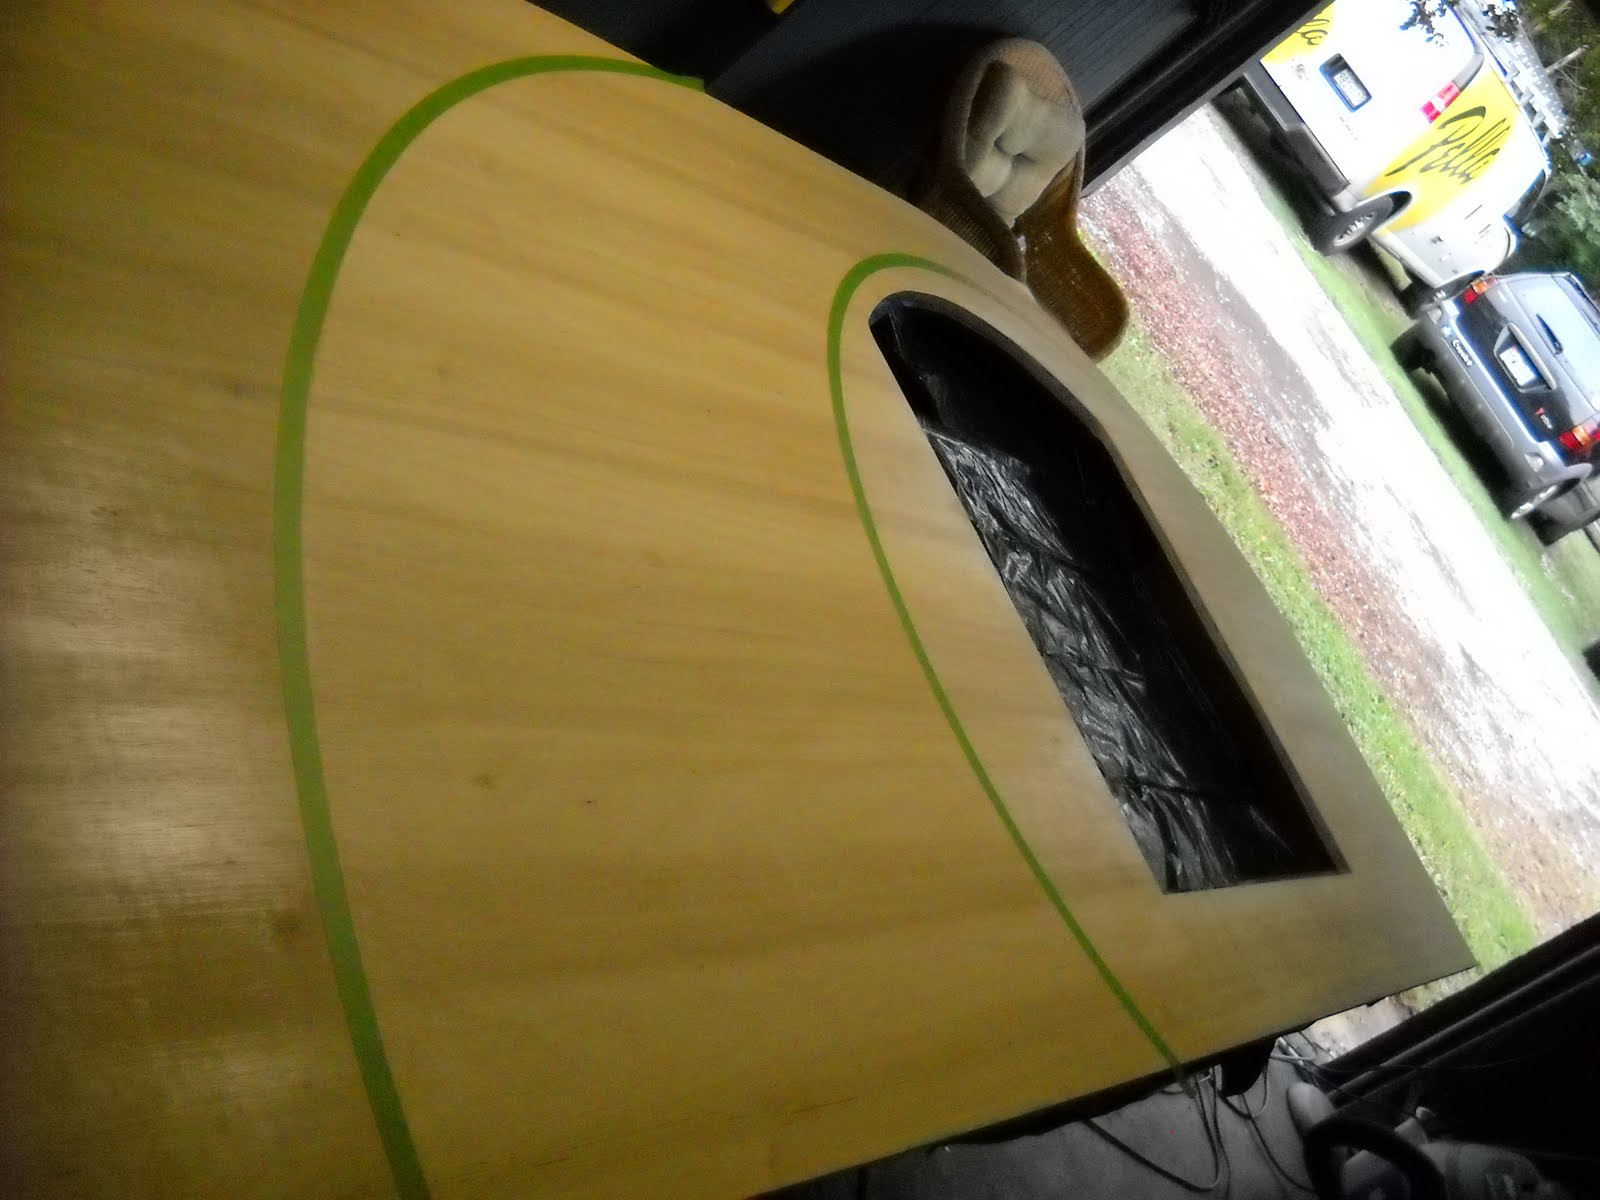
We were trying to achieve a pickled finish, but nobody really pickles anything anymore, they just use a white stain. We chose Cabot because they had the most vibrant colors available in a transparent finish. The problem we encountered was the stain would run underneath the taped edge.


To overcome the wicking I first used an exacto knife and scribed as deep a line as I could manage along the edge of the design. The first line we tried, we cut the line, taped over it, and then tried to run the knife in the same line to cut the tape. We realized pretty quick that this was not working and ended up with more than one line. You can still see the mistakes through the varnish, but luckily it didn't ruin the side.


First we taped off the wave and stained the field white, and then sealed it with sanding sealer.
Then we reversed the masking and stained the blue. Beautiful! The sanding sealer bled a little under the tape and I had to sand it out leaving some shallow gouges along the blue edges. On the other side we stain both colors first and then seal.


We were a little afraid that the white was going to be over powering, but it came out exactly as I had envisioned. So well that we decided to use the same white on the interior surfaces.


Next comes 7 coats of Spar Varnish, lightly sanding between each coat. After this we will set the side to the side and finish the door and the trim ring. Then we flip this side and finish the interior surface.


Can you say labor of love???